Showing posts with label koi. Show all posts

Sunday, 10 June 2018

Our Frugal DIY Black Soldier Fly Larvae Setup

After I killed a couple of batches of earthworms and my bokashi bin just went soggy, I knew I had to find a better way of composting food waste - and I'm so glad we found out about black soldier fly larvae farming!

My elevator speech as to why I love my grubs:
  • In our climate, they pitch up on their own! No cash outlay required.
  • They don't spread disease like houseflies do - Adult black soldier flies don't land on food because they don't even have mouthparts and they prefer to lay their eggs in a dry spot above rotting food, not in it.
  • BSF larvae dramatically decrease the number of houseflies. The actual mechanism for this is unclear but it seems they consume the waste quicker than housefly larvae can hatch.
  • They eat pretty much everything that comes out of our kitchen so definitely not as fussy as earthworms, and less effort than a bokashi bin. Any and all food preparation waste and all our plate scrapings (except bones) go to the BSF larvae.
  • When the grubs are mature, they self-harvest, providing us with an excellent source of fish food, and one day, chicken food.
  • The leachate (liquid) harvested from the farm is an excellent fertilizer.

So, the moment you've been waiting for... Our Frugal DIY Black Soldier Fly Larvae setup!
I'll warn you it's quite rough and ready, we're still experimenting so we haven't made the fittings and supports permanent, but it works!


In all her creep crawly glory - Our Black Soldier Fly Larvae farm

So there you can see the setup in its entirety. It's an old bath - salvaged by my father-in-law who works as a builder, set up on some bricks. Underneath is a container to catch the leachate. The red bucket catches the grubs coming out of the ramps inside. The cover is a piece of aluminium that extends slightly longer than the length of the bath so it covers over the bucket also.

If you lift up the lid and look from the top near the bucket end, this is what you'll see. A discarded section of pool cleaner pipe, cut in half lengthways. When BSFL are ready to pupate, they climb upwards towards a dry spot - so ramps that drop off into buckets work well for harvesting! You can just see the edge of the bucket on the right-hand side of the picture below. One ramp along one side of the bath exits over the top edge, while the other pipe (currently too submerged for my liking) exits through the 'overflow' hole.


You can see citrus peels, egg shells, tea bags, avocado skins and various other bits of debris in this image. The dark marks you can see on the edge came about when it rained and we didn't have sufficient rain protection. BSFL can crawl up vertical surfaces if they are wet, thus bypassing our ramps (and our buckets!). I just haven't bothered to clean the previous trails since setting up the system with the new cover.

Above is a closer view of the pool pipe dropping off into the collection bucket, with a layer of grubs already in the bucket. Below is a close-up view of the grubs working their magic.


And this is what they look like in the bucket. Mature larvae have a dry velvety surface and are about 2cm long. They don't smell bad at all - unlike housefly larvae that stink! To start the system we left some old meat in a bucket, with sections of corrugated cardboard fixed above the meat. The Black Soldier Flies love laying their eggs in the crevices formed by the cut edge of corrugated cardboard. Obviously, the houseflies will come, but over the course of a few weeks, the Black Soldier Flies come to lay their eggs and voila! Black Soldier Fly Larvae! I'll try to get a pic of one of the flies so you know what they look like. They're quite sweet actually - longer than houseflies, with little bobbles on the ends of their antennae.


The reason we've lifted the whole setup slightly off the ground is so that the leachate that runs out via the plug hole can be easily reached. The runoff process is assisted by the natural drainage slope of a bath. To prevent the drainage hole from getting clogged with debris, we placed a broken swimming pool weir basket upside down over the plughole. Below is a closeup of the leachate collector. We need to find something a little larger but this is working well for now.


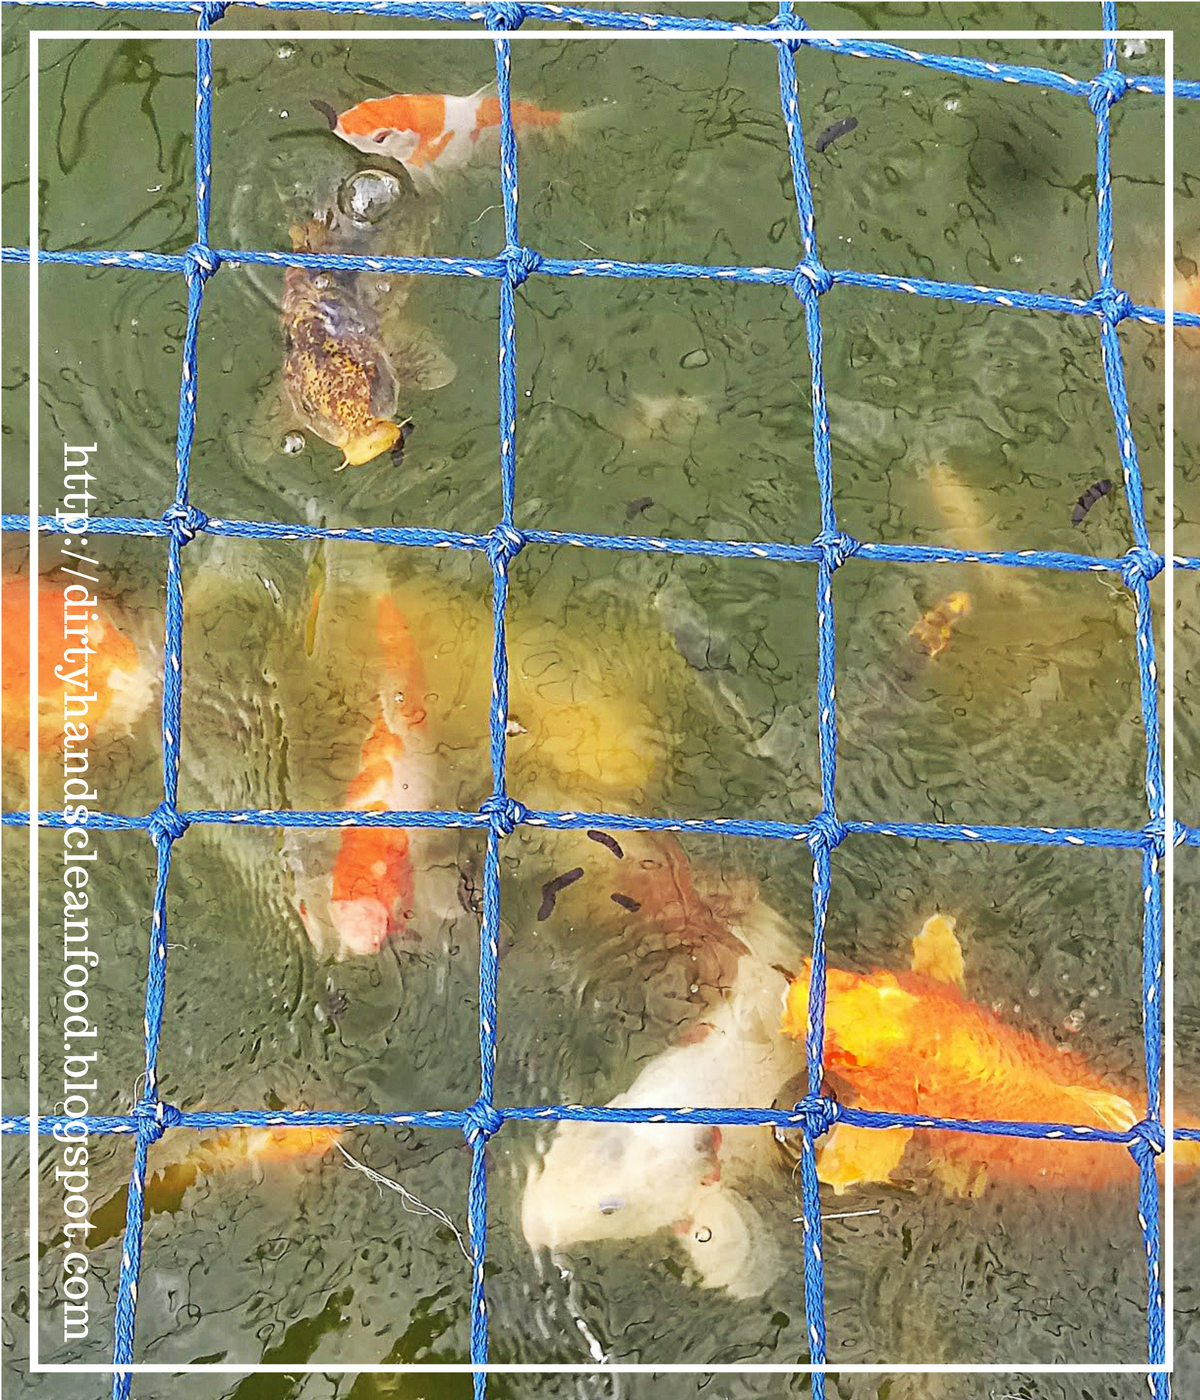
And below you can see some shots of our bigger koi feasting on the grubs. The smaller koi are there in the hope that we'll drop some smaller food in as well.


So that's the quick version! If you have any questions, ask them in the comments below.


Tuesday, 16 June 2015

March 2015 Part I - Swimming with the fish

Starting with a list of our failures is not the way to inspire confidence... trust perhaps, but not confidence! 

But we are on a journey and journeys sometimes have flat tyres and detours - we fix them and we move on and tell tales about them when we get where we were going!

Seeing as we only recently moved in, and getting our rentable spaces ready for tenants is the biggest priority right now, our aquaponics has taken a bit of a back seat. First of all it took us a while to be able to fetch our gear from our previous house. And by that time many of the plants in our system had died. 
Perennial Basil,
Yellow Plum Tomato plant
and one of our Koi

When we were able to fetch our system, we brought the fish over first. We had Koi and Tilapia in one system, but the Tilapia died soon after the move due to a number of factors - not the least of which was the fact that we didn't have sufficient filtering capability without the rest of the system i.e. the planter. We really struggled to filter the Koi water sufficiently so made it a priority to fetch our planters. It was a good lesson for us about how efficient the planter actually was as a filter!

We cleaned the existing fish pond, mounted the planter on some bricks in the middle and got the pump going - the water went from soupy to crystal clear in a couple of hours! You can see the Koi pond here with some perennial basil dominating and a little yellow plum tomato plant peeking out on the right. For the planter we just used a black Big Jim crate, which originally had a bell siphon in the centre as we wanted to try an ebb and flow system. (If these terms are confusing right now, don't stress!) But not it is a continuous flow system.

You can see the pond in the far corner of the property in the picture of the pool. There are 4 Koi in this system currently - about the limit for this pond I think! I made the remark that I wished our swimming pool water was that clear as the Koi water and that got us thinking - what about a natural pool / fish pond / aquaponics reservoir all in one. You can see the work of South African natural pool companies here and here.

Our pool is massive - 11.5m x 6m - and over 2.2m deep in the deep end so it works out at over 120 000l. And the pool pump leaked so we had to keep filling it up until we fixed the leak, until it sprung another leak... Oh bother! It just seems such a waste to spend all that time and money and chemical input to keep a pool dead. I'm sure it can't be healthy soaking yourself in that much chlorine on a regular basis - I'd much rather support a natural balance!

By Clear Water Revival (Own work)
via Wikimedia Commons
The whole interior needs resurfacing anyway, and with such a huge pond we can easily afford to use some of the space for a gravel bed and some water plants. I'm not sure if we'll be able to afford the finance to do the whole thing this winter - but I'm hoping we can do it next winter!

From what I already understand of natural pools, they use water plants and a gravel bed as the filter - we are guessing we won't need so many water plants as we'll also filter the water through our aquaponics system. Most natural pools we've seen don't incorporate fish - I'm sure there is a way to do it though. We are thinking of making it possible for fish to use the whole pool when there are no human swimmers, but simultaneously providing a designated spot they can retreat to while there is swimming going on. If anyone gets squeamish about swimming in the water with the fish, I'll remind them that people swim in dams and lakes and in the sea all the time!

In the image of our pool above, you can see another black crate to the left of the pond - that is actually a crate resting in an old bath that has been sunk into the ground, with a small solar powered pump - another aquaponics system in the making. That system doesn't have fish in it currently - but we are getting there! 

What we did get from that system though is a batch of lettuce seeds as pictured here - your lettuce plant will get to a point where it 'bolts' i.e. the stem grows longer - culminating in a flower head. These flowers bloom and then later close and start to dry out. 

Lettuce seeds are ready to be picked when the flower heads are fluffy i.e. ready to fly away. Pick them and rub them between your fingers to release the seeds, then blow gently to lift the chaff. 

You can see two different types of seeds - dark and light - in the image here. I got these particular lettuce plants in a mixed pack, so I'm happy to mix the seeds. Apparently lettuce varieties don't cross readily - this makes seed saving quite simple!

Speaking of seeds, this image of my seedlings and cuttings, taken past 7pm in the evening, gives you an idea of when I get to do my gardening! I made a joke on Facebook the other day about how when you are working full time you can't get all your gardening done in the daylight hours - 

'Some call it urban permaculture, 
I call it 'Gardening in the Dark'
You can see some Sansevarias on the left in this image - I found a plant at a nursery that was practically bursting the growing bag it was in - so bought the plant and split it into a number of individual plants that I could put in my house - and give away as gifts! 

The polstyrene containers were rescued and recycled and I used to plant my herbs seeds and various small cuttings I collected. The plastic storage baskets have worked really well for storing my seed trays - I can bring them in if it is too hot outside, or if the rain is too heavy, but can put them outside when necessary. 


March was quite a busy month - so look out for Part II of our March update!

Until then, what are your thoughts on natural swimming pools? Have you ever swum in one? (other than an actual lake or dam!) If you have a swimming pool yourself, would you ever consider converting?